FOLLOW

You'll love my NEW WEBSITE! Visit it HERE for all my new tutorials and to shop my items!
Showing posts with label Signs. Show all posts

Tuesday, May 28, 2013

Custom Made Signs


After posting this sign in my on facebook...
Pin It


I received some custom orders.

First I made this one for a customer!
Pin It

Then I also made this one!
Pin It
Order a similar sign!


Friday, May 10, 2013

Giveaway Winner & Feature Friday ~ Ioka Lane Boutique

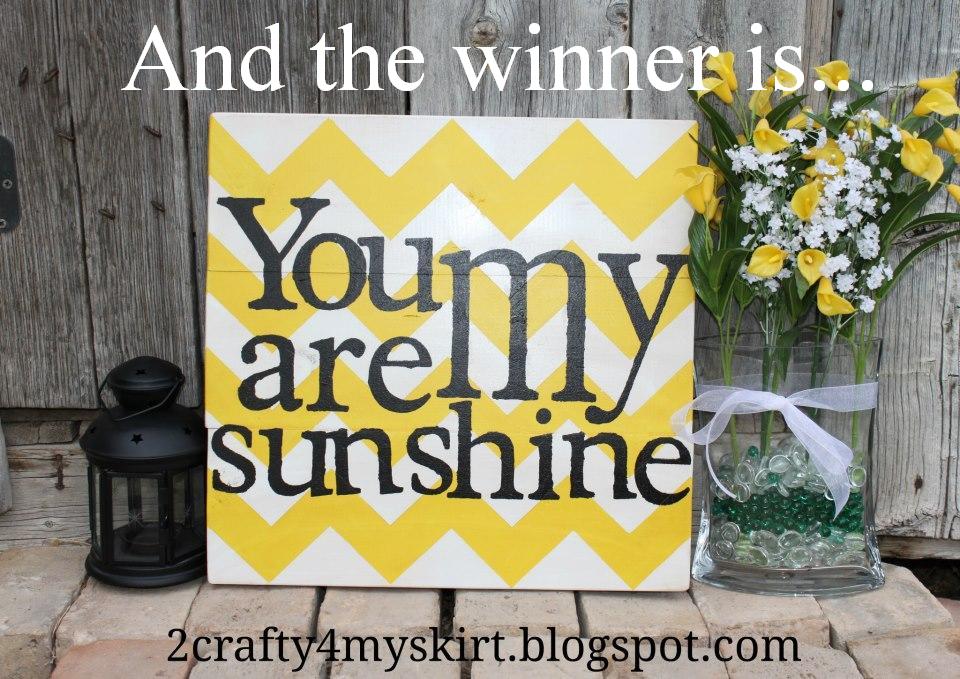
Are you here to find out if you won the Giveaway for this sign?!
I want you to know I am so grateful to each and everyone of you that entered the giveaway and shared my blog and projects!
My "facebook following" has doubled since opening this giveaway, and many of you are also following in various other ways now.  I am still so surprised that anyone besides my family and close friends are following my blog.You guys give me the motivation to keep it up!
Thank you so much!!!
And THANK YOU to those of you that have been with me since even before the giveaway! Including my family and close friends!


Before I tell you who the winner is I want to introduce you to
This is not just another Feature Friday.  Ioka Lane is my sister-in-law's boutique.

She is really the reason I started building custom crafts; which led to blogging.  I have always liked to make things.  One day I was talking about how awesome Kortnie is and all of the things she does.  My wonderful husband encouraged me, and told me I could make a succesful business too.

I look up to this girl so much, and someday I hope to be as awesome as she is!  It has been so fun to have someone to brainstorm ideas with, and someone who I can ask to be brutally honest about a project and she will be! 
I love this girl! Get to know her!

Kortnie is very talented at sewing!  Here are just a few of the cute things she has sewn.


She also makes these one of a kind Beadboard Frames!


She has also started refinishing furniture.  And of course, like everything else, she is GREAT at it!

This sunburst mirror was the item everyone was talking about at the boutique we just did together!  Isn't it GORGEOUS?!

She also just started a blog.  Her first post was all about how she made this cute little table!

Send some love Kortnie's way! 
Check out her blog
and  "Like" her Facebook boutique!

Onto the Giveaway winner...

Winning Entry...
Toni Ellsworth Liked you on face book.

Toni please email me at toocraftyformyskirt@hotmail.com or message me on facebook so I can arrange getting your sign to you!

So many of you told me sweet stories about how much the song means to you and why.  Nothing about crafting and blogging makes me happier than hearing all those sweet stories!

If you didn't win you can still get one of these signs!  Check out my For Sale album on Facebook.
You can message me on my page to order one of these signs!

Monday, April 29, 2013

You Are My Sunshine ~ Chevron Sign Tutorial & GIVEAWAY!!!

Last weekend was my big boutique with the ladies from Reclaim-ologists and Other Crafty Chicks!  It was so awesome and so fun!  This was my biggest seller.  I sold out in the first hour and then had people asking about them for the rest of the show.
 
Pin It


Here's how I made it:
I made my sign board like most of my other signs, three 1x6's cut at 17" and put together with pocket holes. And the edges sanded off.


On the first one I made, I wanted to try giving it a beat up look.  I got out an old chain and started beating it.  My son was playing outside while I was crafting.  When he saw me doing that he ran over because it looked pretty fun to a two year old.  So I let him help!


I liked it beat up but it didn't make that much of a difference.  So I didn't end up spending time doing it on the others that I have made.

Be sure to come check out my tutorial on easily taping off a perfect chevron pattern!

At this point I really didn't know what my sign was going to turn out like.  All I knew was that I wanted to do yellow chevron on stained wood.


Once I got to this point I came up with what I would put over the chevron.

For my stencils:  I had this glitter scrapbook paper that I hated for scrapbooking.  But it was thick and worked PERFECT for cutting out stencils.  I used the cricut.  I wanted the "my" to be stretched but the cricut didn't have any letters like that.  I painted half way down the letter and then just kept moving my stencil down until it was as long as I wanted it.


Then I stained it.  And put a coat of polyuerethane over it.
Pin It

I loved the first one I made, but I wanted the words to show up better.  Here is what I did the second time around!

Pin It

This item can be custom ordered on my facebook page.  And RIGHT NOW you can click here to enter a GIVEAWAY for one of these signs!
Never miss a new post!

Monday, April 8, 2013

Forever and Always ~ DIY Home Decor Sign

I have had a picture of this sign in my head for awhile.  I was so excited to finally get around to making it over the weekend! I will be taking this to the Boutique at the end of this month!
Pin It 

I started out the same way I make most of my Signs, 1x6 boards screwed together with Pocket Holes. I also rounded off the corners with the sander.

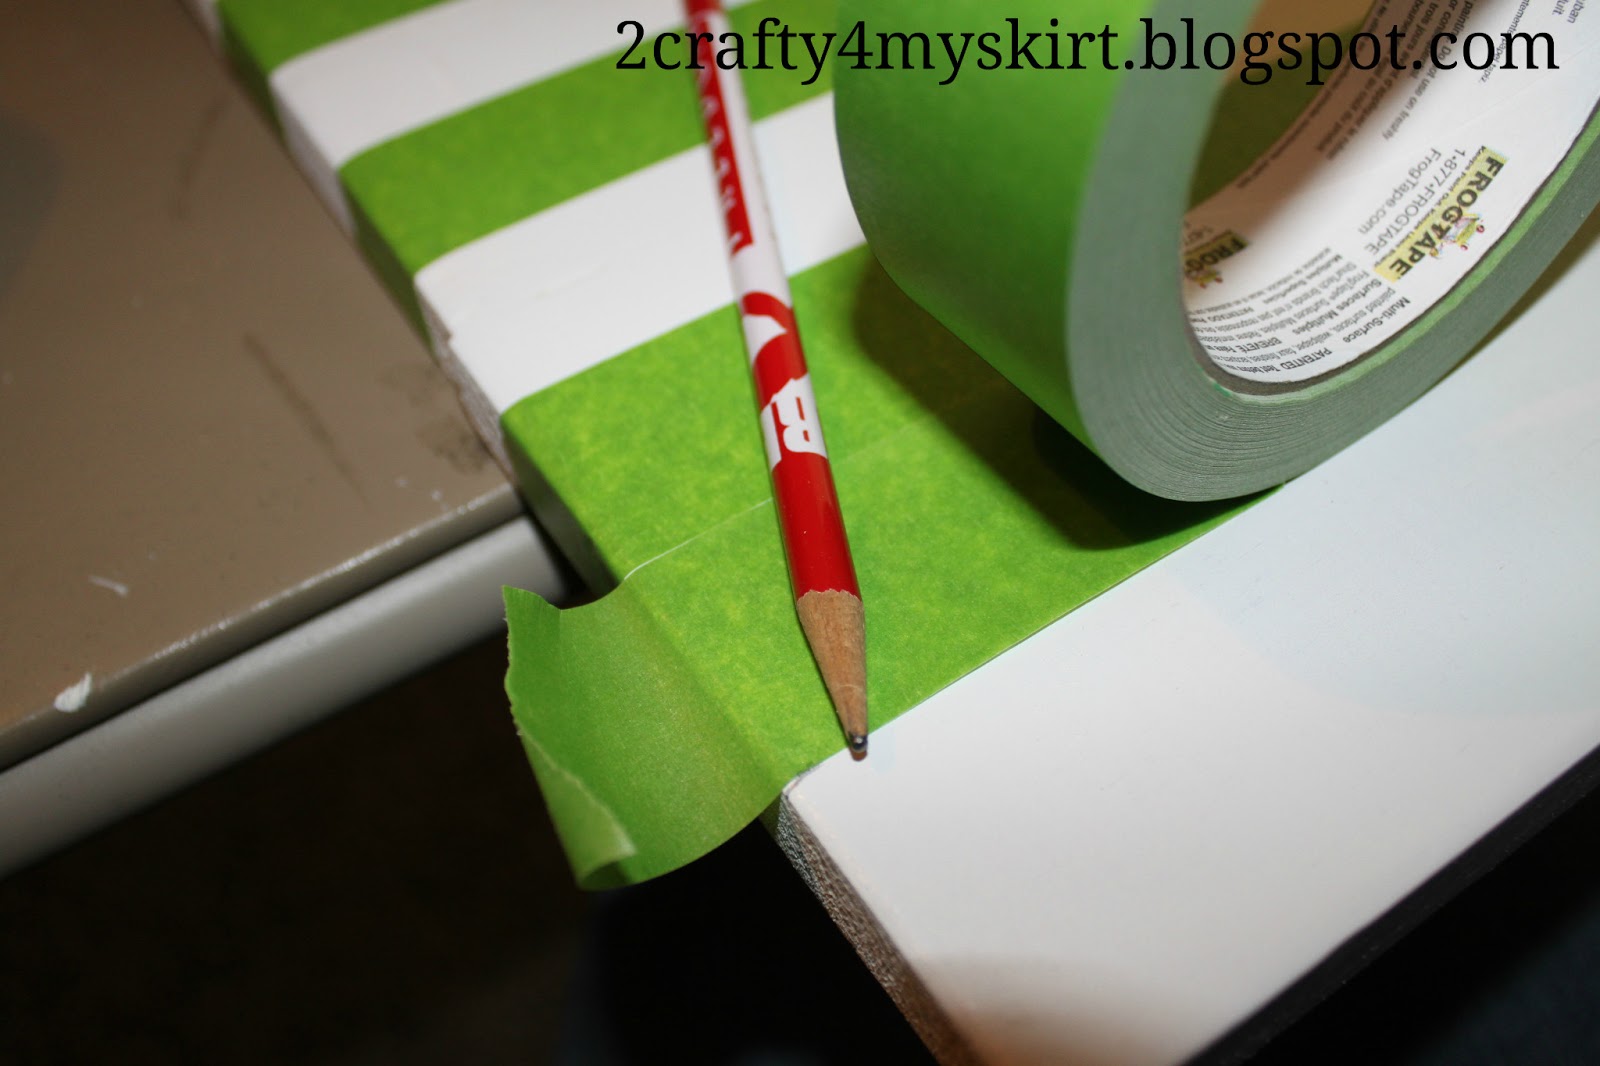
I spray painted it white and then started taping off my stripes.  I ALWAYS use Frog Tape to avoid paint seeping through.

I would have liked to have the middle stripe be white but there was this ugly line in the wood down the middle so I decided to have a grey stripe in the middle to cover it up.

I started in the middle and then just used the tape and a pencil to mark where to put the next strip.


I didn't have any grey paint so I made my own.  I made sure to make a lot because if I ran out I was afraid it would be a different shade when I mixed more.

I ended up with PLENTY of paint but better safe then sorry.  I saved the rest for touch up.

On the sides (where my tape didn't stick very well I had to touch it up a little.  I just grabbed the nearest thing I had to prop it up, which happened to be my tape measure.

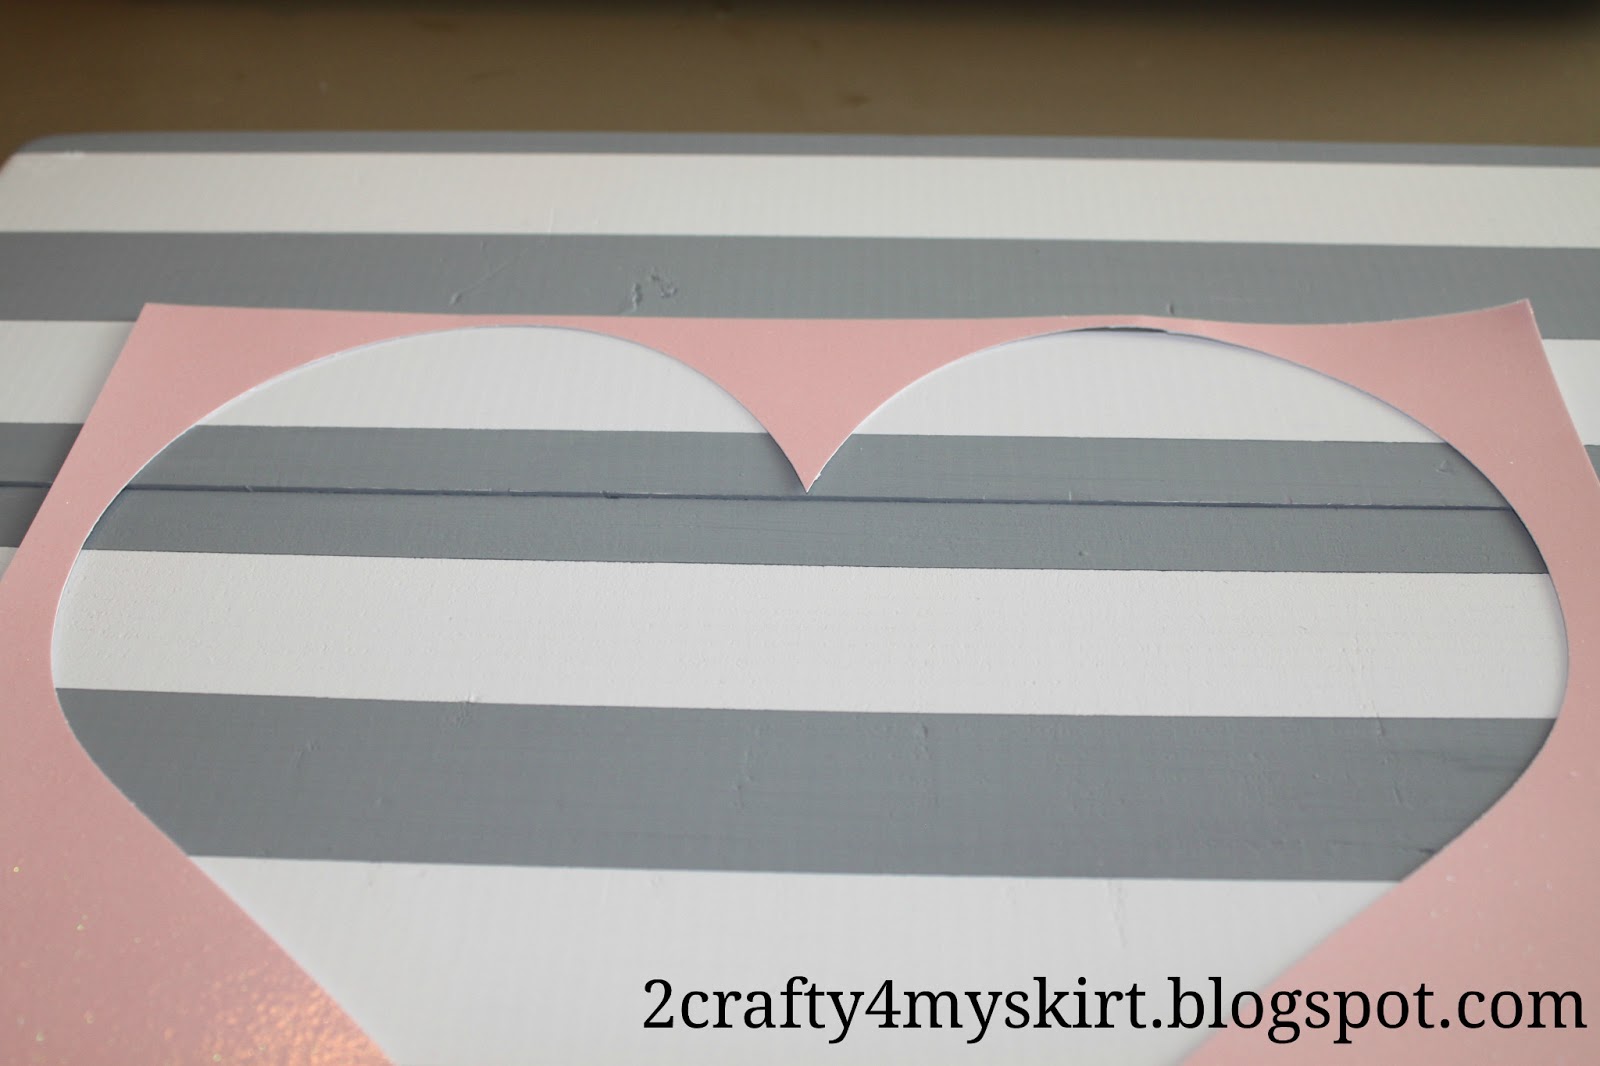
I made my stencils the same way I did for my Old Barn Wood sign, cut them out with my cricut on this thick glitter paper that I wouldn't use for anything else.

I didn't have much space at the top and I was afraid I would get paint outside of the stencil so I just put some tape down which also held it in place for me.


I went back and forth for quite a while on which pink color to use.  But I finally choose this one and I am happy with it!

Then I just cut my letters out the same way and painted them on.

I LOVE how it turned out!
Pin It

Check out 2 Crafty 4 My Skirt on Facebook for items that you can custom order INCLUDING THIS ONE or just to stay updated on new projects!

Never miss a new post!